


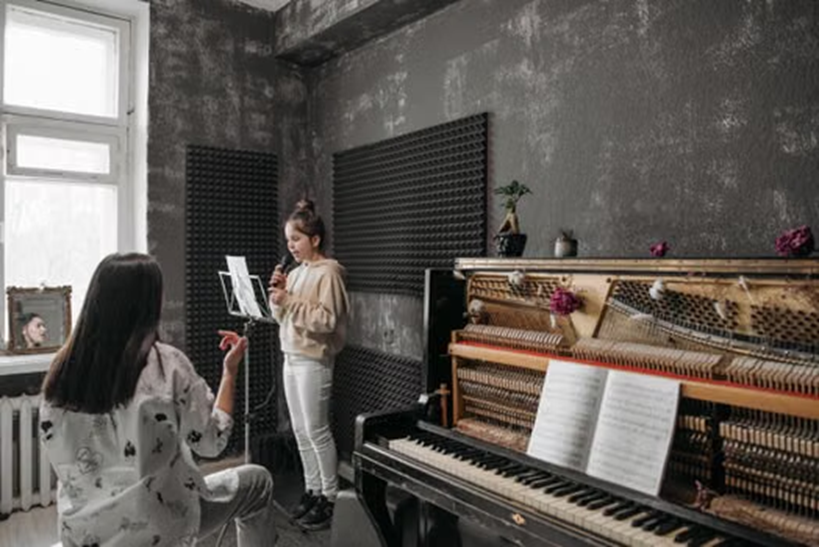
More and more musicians and content creators are setting up their own recording studio at home. However, even the best recording equipment cannot make up for poor room acoustics, so it’s worth planning acoustic treatment early on, while organising the space.
A home studio differs from a professional facility mainly in the scale of available space and budget, but the basic principles of acoustics remain identical. Understanding these principles makes it possible to plan treatment thoughtfully even in a small room, without the costs typical of professional studio builds.
Where to start
The first step should be identifying the main acoustic problems in the room – usually excessive reverberation caused by smooth, parallel walls, and booming bass building up in the corners.
It’s also worth paying attention to the shape of the room. Rooms with dimensions close to a cube generate much stronger and more problematic resonances than rooms with more varied proportions. If you can choose which room becomes the studio, it’s worth avoiding spaces with nearly identical length, width, and height.
Absorption at key points
In a home studio, it’s worth placing acoustic absorbers at the so-called first reflection points – spots on the walls and ceiling from which sound bounces directly toward your ears while working at the monitors. Reducing these reflections significantly improves listening accuracy.
First reflection points can be found yourself with a simple mirror trick – sitting at the listening position, have someone slide a mirror along the side wall until, in its reflection, you see the monitor speaker. That exact spot is where an absorbing panel should go.
The ceiling matters too
Many home producers forget about the ceiling, yet that is often where the most problematic reflections come from. It’s worth considering an acoustic cloud panel mounted directly above the mixing position.
Because the ceiling is often close to the listener’s head, it produces reflections that arrive almost simultaneously with the direct sound from the monitors, which can distort the perception of detail in a mix. A ceiling panel placed exactly above the mixing position removes this problem very effectively.
Diffusers for a natural sound
To avoid a “dead” room effect, it’s worth complementing absorbers with diffusers placed on the rear wall of the studio, behind the listening position. These scatter sound while preserving its natural character, without over-dampening it.
In very small rooms, where the distance to the rear wall is short, it’s sometimes better to place an additional absorber there instead of a full-sized diffuser, since too short a distance can cause the scattered sound to return to the listener too quickly, distorting stereo perception.
Bass traps in the corners
In small home rooms, the problem of booming bass is especially noticeable. Placing bass traps in all available corners of the room results in a much more even low-frequency response.
If the budget doesn’t allow buying a full set of traps at once, it’s worth spreading the investment over time, starting with the two front corners closest to the monitor speakers, then gradually filling in the remaining corners of the room.
Summary
Acoustic treatment of a home studio requires combining several types of panels – absorbers at the first reflection points, diffusers on the rear wall, and bass traps in the corners. This comprehensive approach makes it possible to achieve a professional sound even in a small home room, without a full renovation or specialised studio wall construction.
This article was created in collaboration with Addictive Sound
